If you are comming from Angular InstantSearch v1 and you want to upgrade to v2, you can simply use the migration guide.
Welcome to Angular InstantSearch
Angular InstantSearch is an Angular 5 & 6 TypeScript library that lets you create an instant search results experience using Algolia’s REST API.
In this tutorial you’ll learn how to:
- Install and use
angular-instantsearchin your angular application - Display results from Algolia
- Add widgets / components to filter the results
Before we start
Angular InstantSearch is meant to be used with Algolia.
Therefore, you’ll need the credentials to an Algolia index. To ease this getting started, here are credentials to an already configured index:
appId: latencysearchKey: 3d9875e51fbd20c7754e65422f7ce5e1indexName: instant_search
It contains sample data for an e-commerce website.
This guide also expects you to have a working angular application. You can use the official angular CLI to bootstrap a new application this way:
npm install -g @angular/cli@6
ng new example-angular-instantsearch
cd example-angular-instantsearch
ng serve
Then go on http://localhost:4200/ to see your live example.
Install Angular InstantSearch
First install angular-instantsearch via npm:
$ yarn add angular-instantsearchOR$ npm install --save angular-instantsearch
Import module
Once installed you need to import our main module into your Angular application,
so for example if you generated an app with the Angular cli, it would be in src/app/app.module.ts:
import { NgAisModule } from 'angular-instantsearch';
We then need to inject the Angular InstantSearch module into the imports of our app.
This can be done either at the root level ( src/app/app.module.ts) or in any search module you might have.
When done at the root level of your app, the syntax is a bit different.
- At the root module:
import { NgAisModule } from 'angular-instantsearch'; @NgModule({ declarations: [AppComponent, ], imports: [NgAisModule.forRoot(), ], // use .forRoot() bootstrap: [AppComponent] }) export class AppModule {}
- In another module, like a search module:
import { NgAisModule } from 'angular-instantsearch'; @NgModule({ declarations: [OtherComponent, ], imports: [NgAisModule, ] }) export class OtherModule {}
You also need load the companion CSS files. To do so, you need to add the relevant CSS files to
your angular.json file, in the apps > styles array:
{
  "styles": [
    "node_modules/angular-instantsearch/bundles/instantsearch.min.css",
    "node_modules/angular-instantsearch/bundles/instantsearch-theme-algolia.min.css",
    "styles.css"
  ]
}
Then you need to update the file named polyfills.ts to add, at the bottom of the file:
(window as any).process = {
  env: { DEBUG: undefined },
};
Finally, kill (ctrl + c) and reload (ng serve) your server.
Initialization
Now that you have imported Angular InstantSearch module into your application, you can use any widgets with their respective directive.
<ais-instantsearch> is the component that will connect to Algolia and will synchronize all the widgets togethers. It has to be the root component of every other widgets you will import.
If you used Angular cli, then you can change the content of src/app/app.component.html to:
<h1>My first search app</h1>
<ais-instantsearch
  [config]="{
    apiKey: '6be0576ff61c053d5f9a3225e2a90f76',
    appId: 'latency',
    indexName: 'instant_search',
    routing: true
  }"
>
  <ais-hits></ais-hits>
</ais-instantsearch>
Here’s the result:
Add a SearchBox
Now that we’ve added the results, we can start querying our index. To do this, we are going to use the Searchbox widget. Let’s add it in the application template:
<ais-instantsearch [config]="{...}">
  <ais-search-box></ais-search-box>
  <ais-hits></ais-hits>
</ais-instantsearch>
The search is now interactive and we see what matched in each of the products. Good thing for us, Algolia computes the matching part. For better control over what kind of data is returned, you should configure the attributeToRetrieve and attributeToHighlight of your index
In this part, we’ve seen:
- How to use the searchbox to query Algolia with text
Customize the results
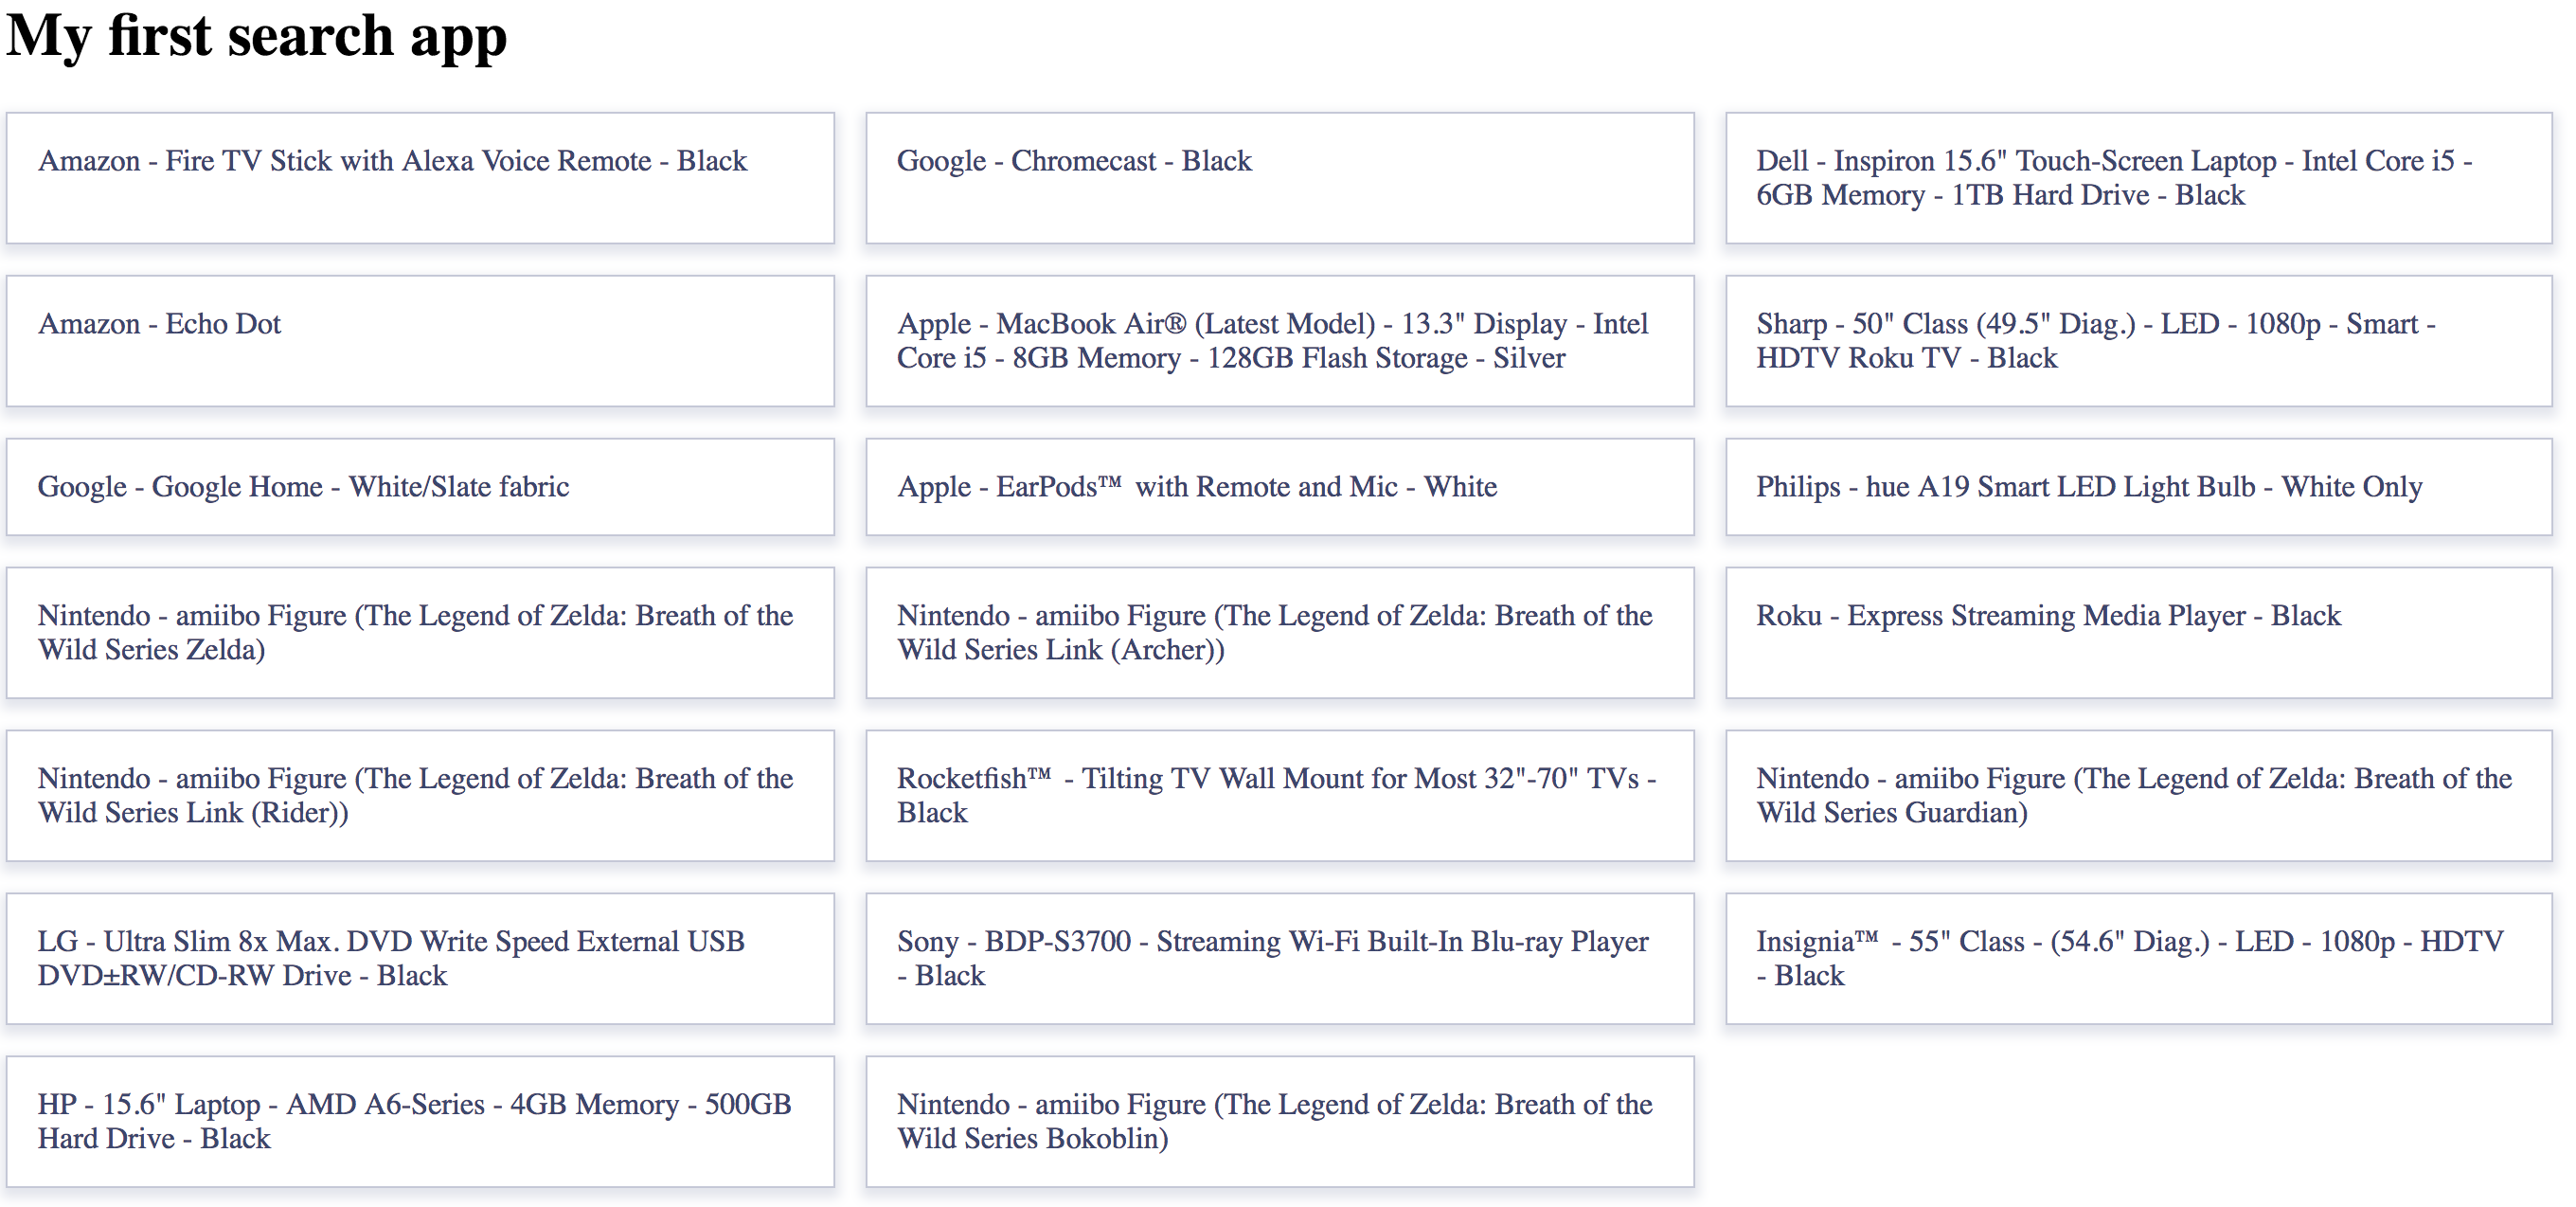
Now let’s try to use a custom template for hits, replace <ais-hits></ais-hits> with:
<ais-hits>
  <ng-template let-hits="hits">
    <div *ngFor="let hit of hits">
      Hit {{hit.objectID}}: {{hit.name}}
    </div>
  </ng-template>
</ais-hits>
One very important aspect of the search is highlightning the matching parts of the results. We can use the <ais-highlight> widget to do that for you:
<ais-hits>
  <ng-template let-hits="hits">
    <div *ngFor="let hit of hits">
      Hit {{hit.objectID}}:
      <ais-highlight attribute="name" [hit]="hit">
      </ais-highlight>
    </div>
  </ng-template>
</ais-hits>
In this section we’ve seen:
- How to add widgets into your application template
- How to display the results from Algolia
- How to customize the display of those results
- How to leverage highlighting in results
Add a RefinementList
While the SearchBox is the way to go when it comes to textual search, you may also want to provide filters based on the structure of the records.
Algolia provides a set of parameters for filtering by facets, numbers or geo location. Angular InstantSearch packages those into a set of widgets.
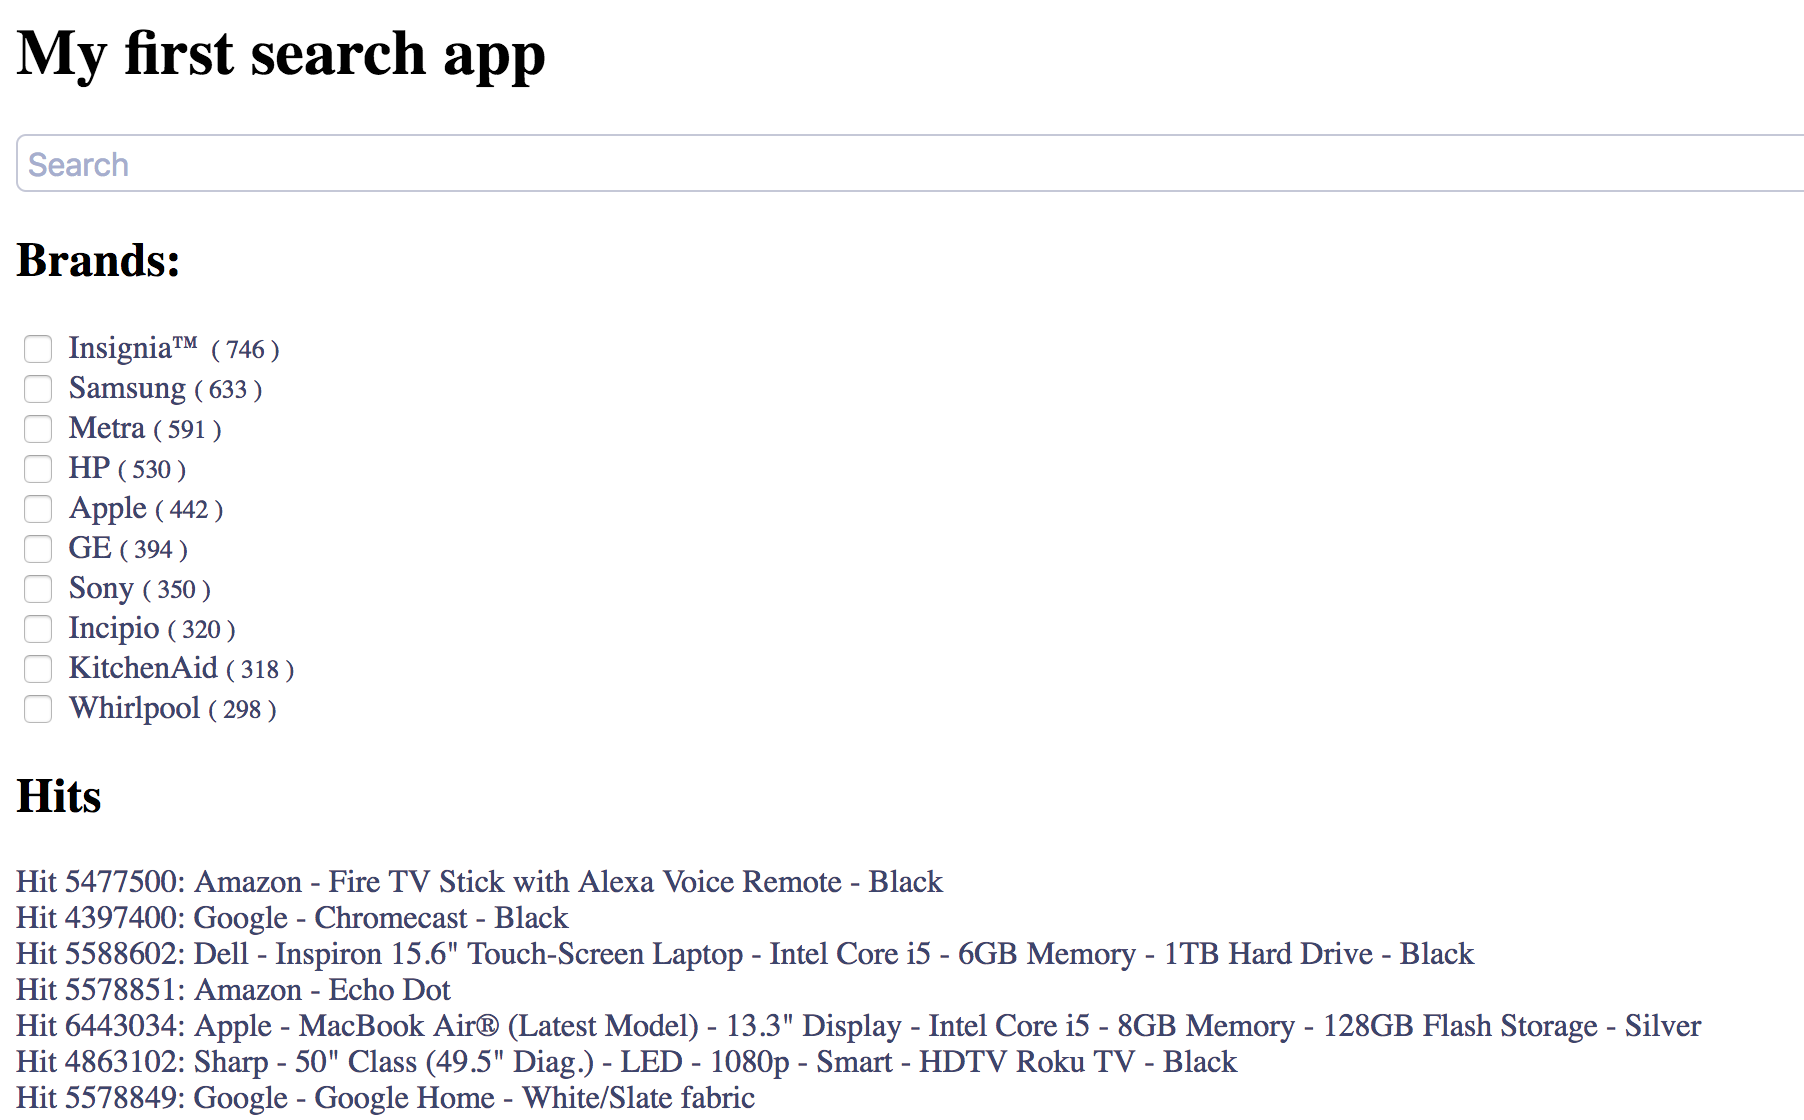
Since the dataset used here is an e-commerce one, let’s add a RefinementList to filter the products by categories:
Add this code right after </ais-hits>
<ais-refinement-list attribute="brand"></ais-refinement-list>
The attribute option specifies the faceted attribute to use in this widget. This attribute should be declared as a facet in the index configuration as well.
The values displayed are computed by Algolia from the results.
In this part, we’ve seen that:
- There are components for different types of filters
- The RefinementList works with facets
- Facets are computed from the results
Here’s the result:
Going further
We now miss two elements in our search interface:
- The ability to browse beyond the first page of results
- The ability see and reset current filters
Those two features are implemented respectively with the Pagination, ClearRefinements and CurrentRefinements widgets. They all have nice defaults which means that we can use them directly without further configuration.
Wrapping up
Congratulations, you now have a fully featured InstantSearch result page. But this is only the beginning! If you want to dig further into Angular InstantSearch, we suggest reading the other guides and the widgets API.